Launch Pipeline
Launching Secondary Pipelines#
Triggering a pipeline in BaseJumper can be accomplished in 3 ways: in combination with the BaseSpace download prompt and after the download is complete in the home prompt.
Approach 1#
-
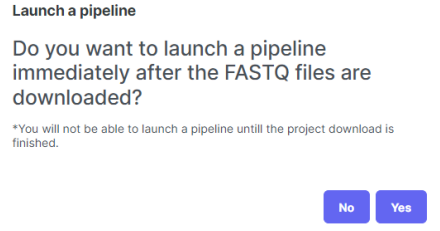
When you create a new project by selecting Create Project, a window will appear inquiring if you want to run a pipeline when the BaseSpace download is complete.
-
Select Yes to confirm that you wish to launch a pipeline.
-
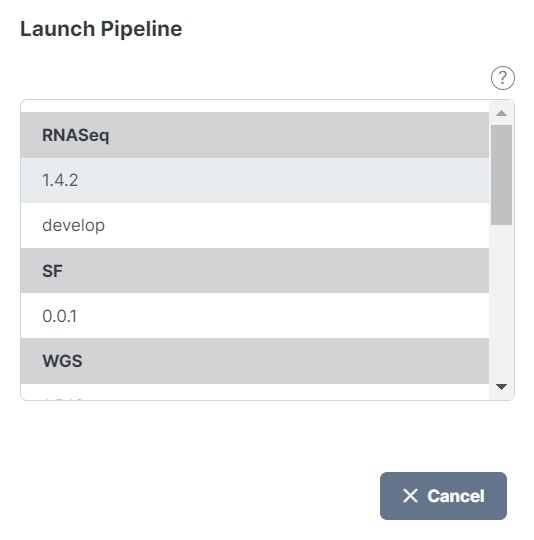
In the following window, choose the pipeline you want to activate. This section also shows the latest version of each pipeline that you can run.
-
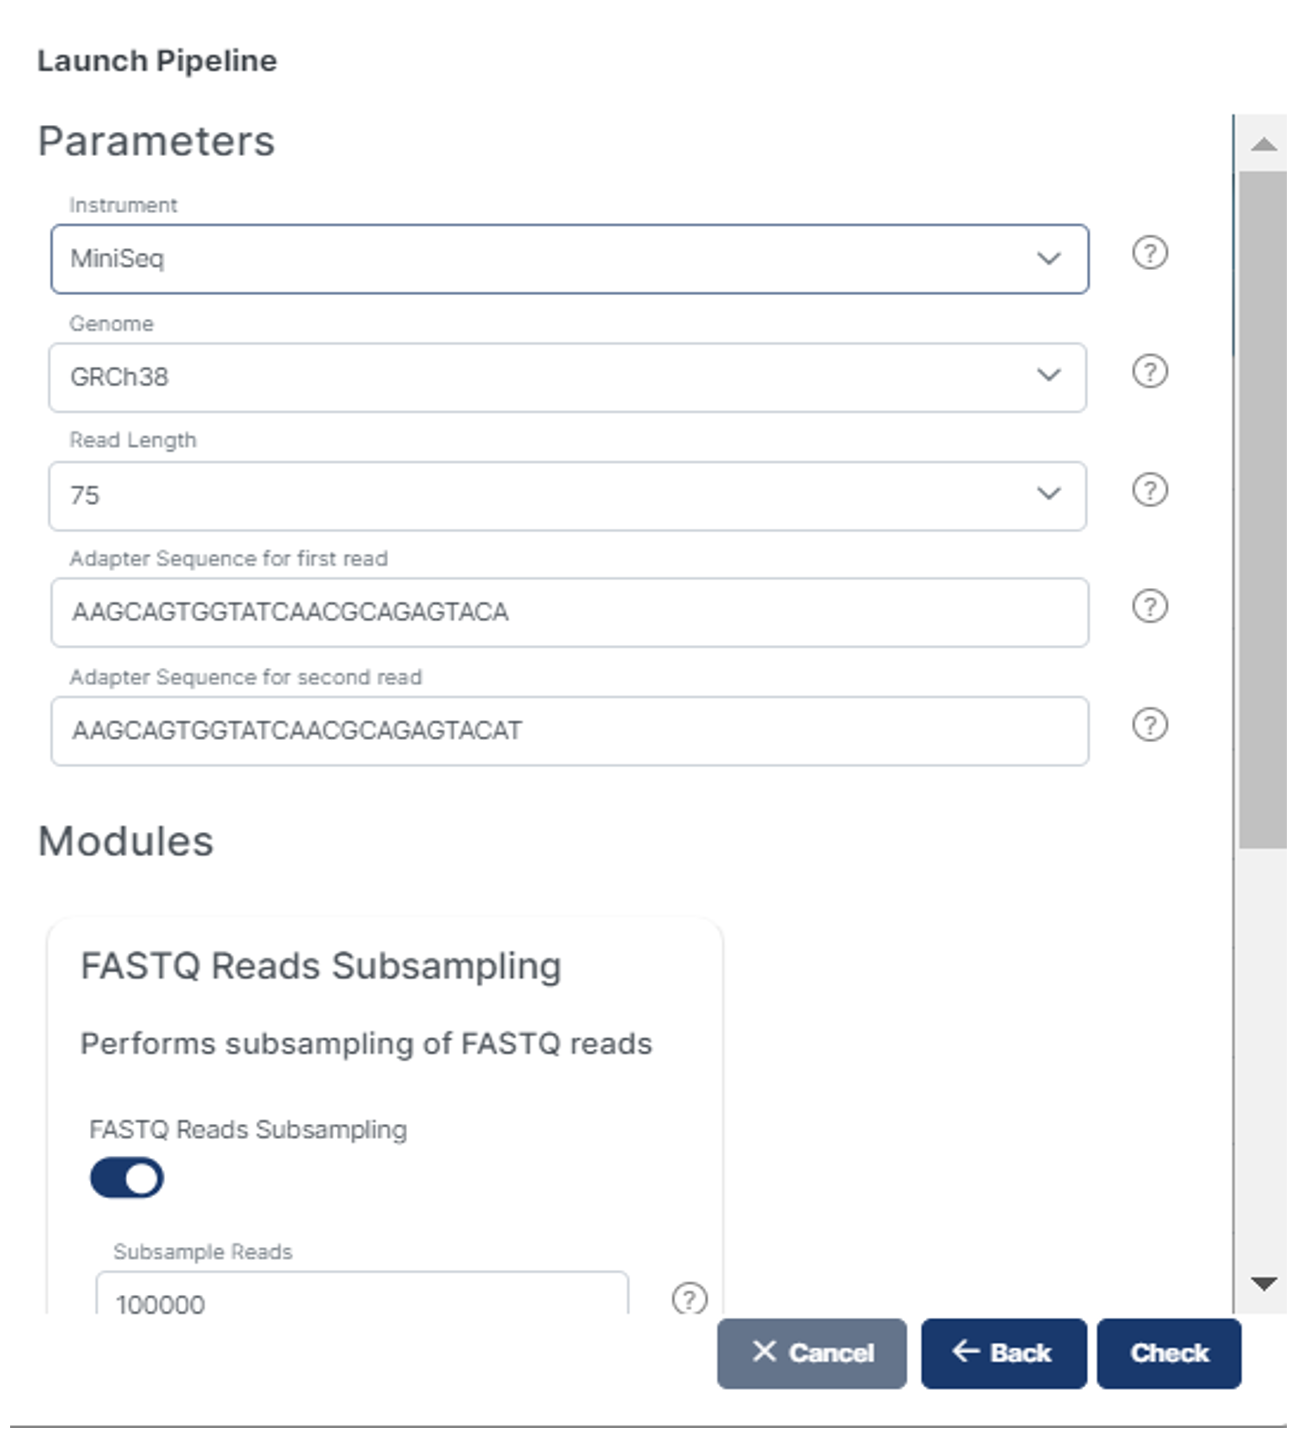
Following that, a window with pipeline-specific settings will emerge.
-
Select the parameters of interest, then click Check at the bottom of the prompt.
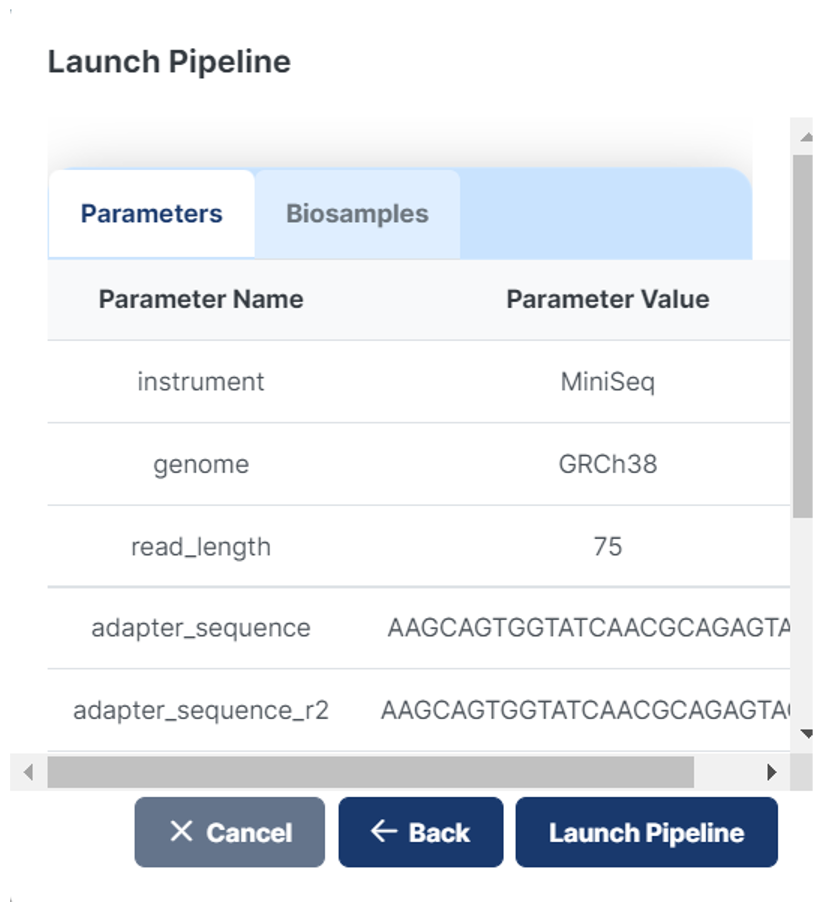
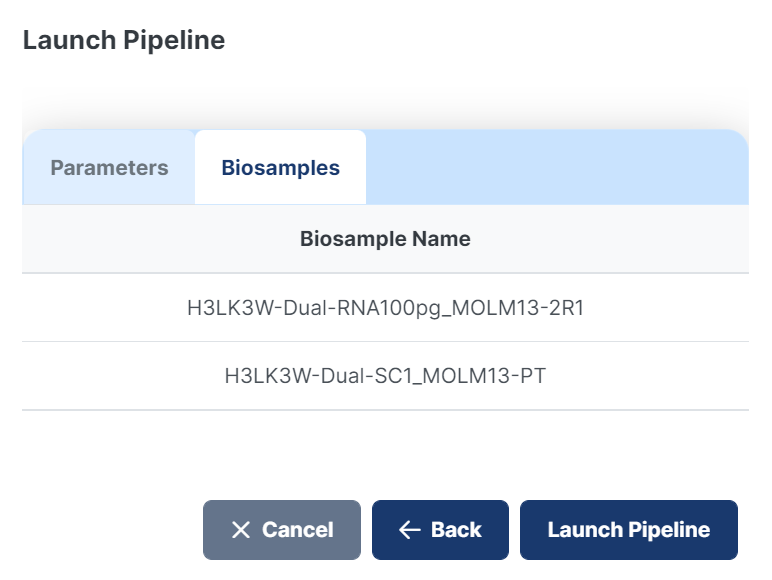
This will bring up another screen to “check” the provided specifications before launching the pipeline. On the left, the Parameters tab will appear for you to double check what you selected previously and on the right, the Biosamples tab will appear showing a list of all the Biosamples from your project that you have selected to be run in the pipeline. After you are satisfied with your selections, click Launch pipeline
-
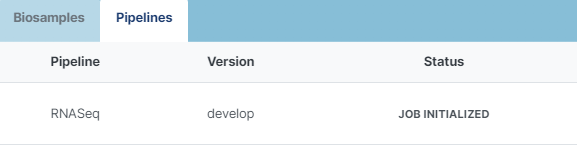
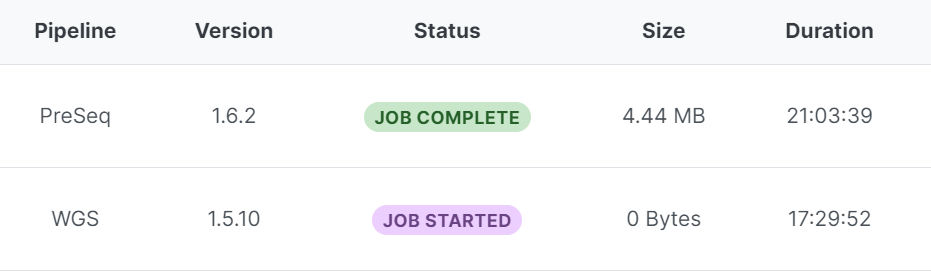
Once the pipeline is launched, the status will start at Job Initialized and when the pipeline starts it will go to Job Running and when the pipeline finishes it will say Job Complete (you will receive an email marking the pipeline's initiation and completion).
-
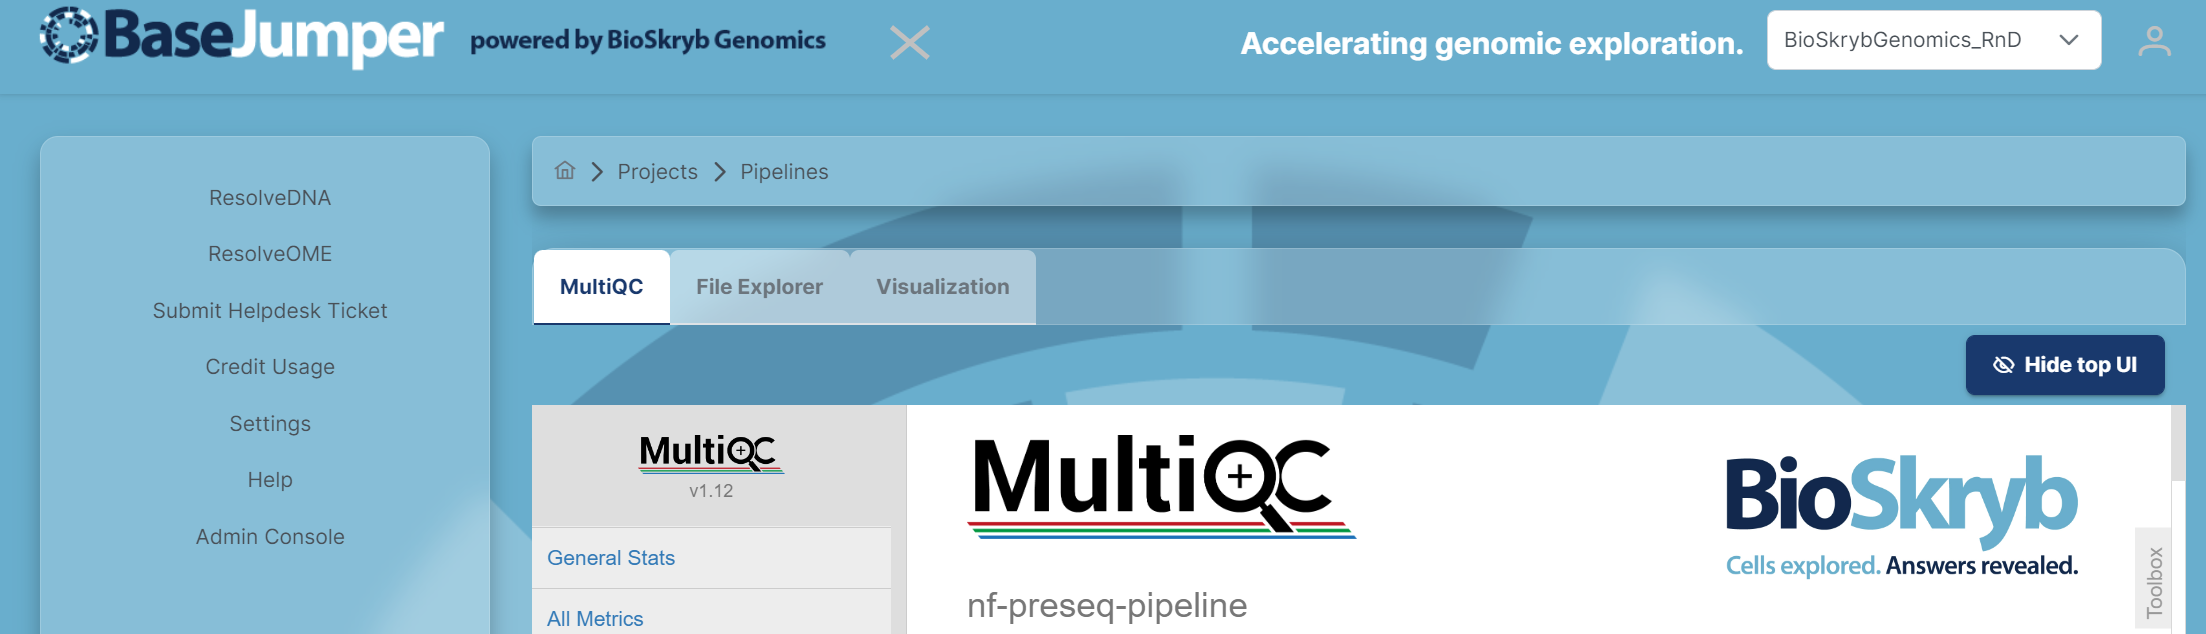
When the pipeline is complete select your project, then under the Pipelines tab, click the pipeline run to browse results. You will then see 3 tabs appear MultiQC, File Explorer and Visualization. These sections contain all of the output files and plots generated from the pipeline. The next section will go over how to navigate and locate specific data and files.
Approach 2#
- After your project creation is complete and all samples have been downloaded, click on the Biosample tab to show your list of samples. Each sample and its passing status and metrics will appear at the top. The following metrics are
Info
Biosample : Biosample fastq file uploaded from BaseSpace Sequence Hub
FASTQ Validation Status: Shows whether each Biosample fastq file passed or failed when file was downloaded from s3
Size: Shows the size of the input fastq file
Total Number of Reads: Shows the total number of reads for each sample
Read Length: Shows the number of base pairs for each sample
Upload Date: Shows when each Biosample fastq was uploaded to Base Jumper
BioSkryrb Product Lot ID: The Lot ID# found on the the underside of the box of reagents
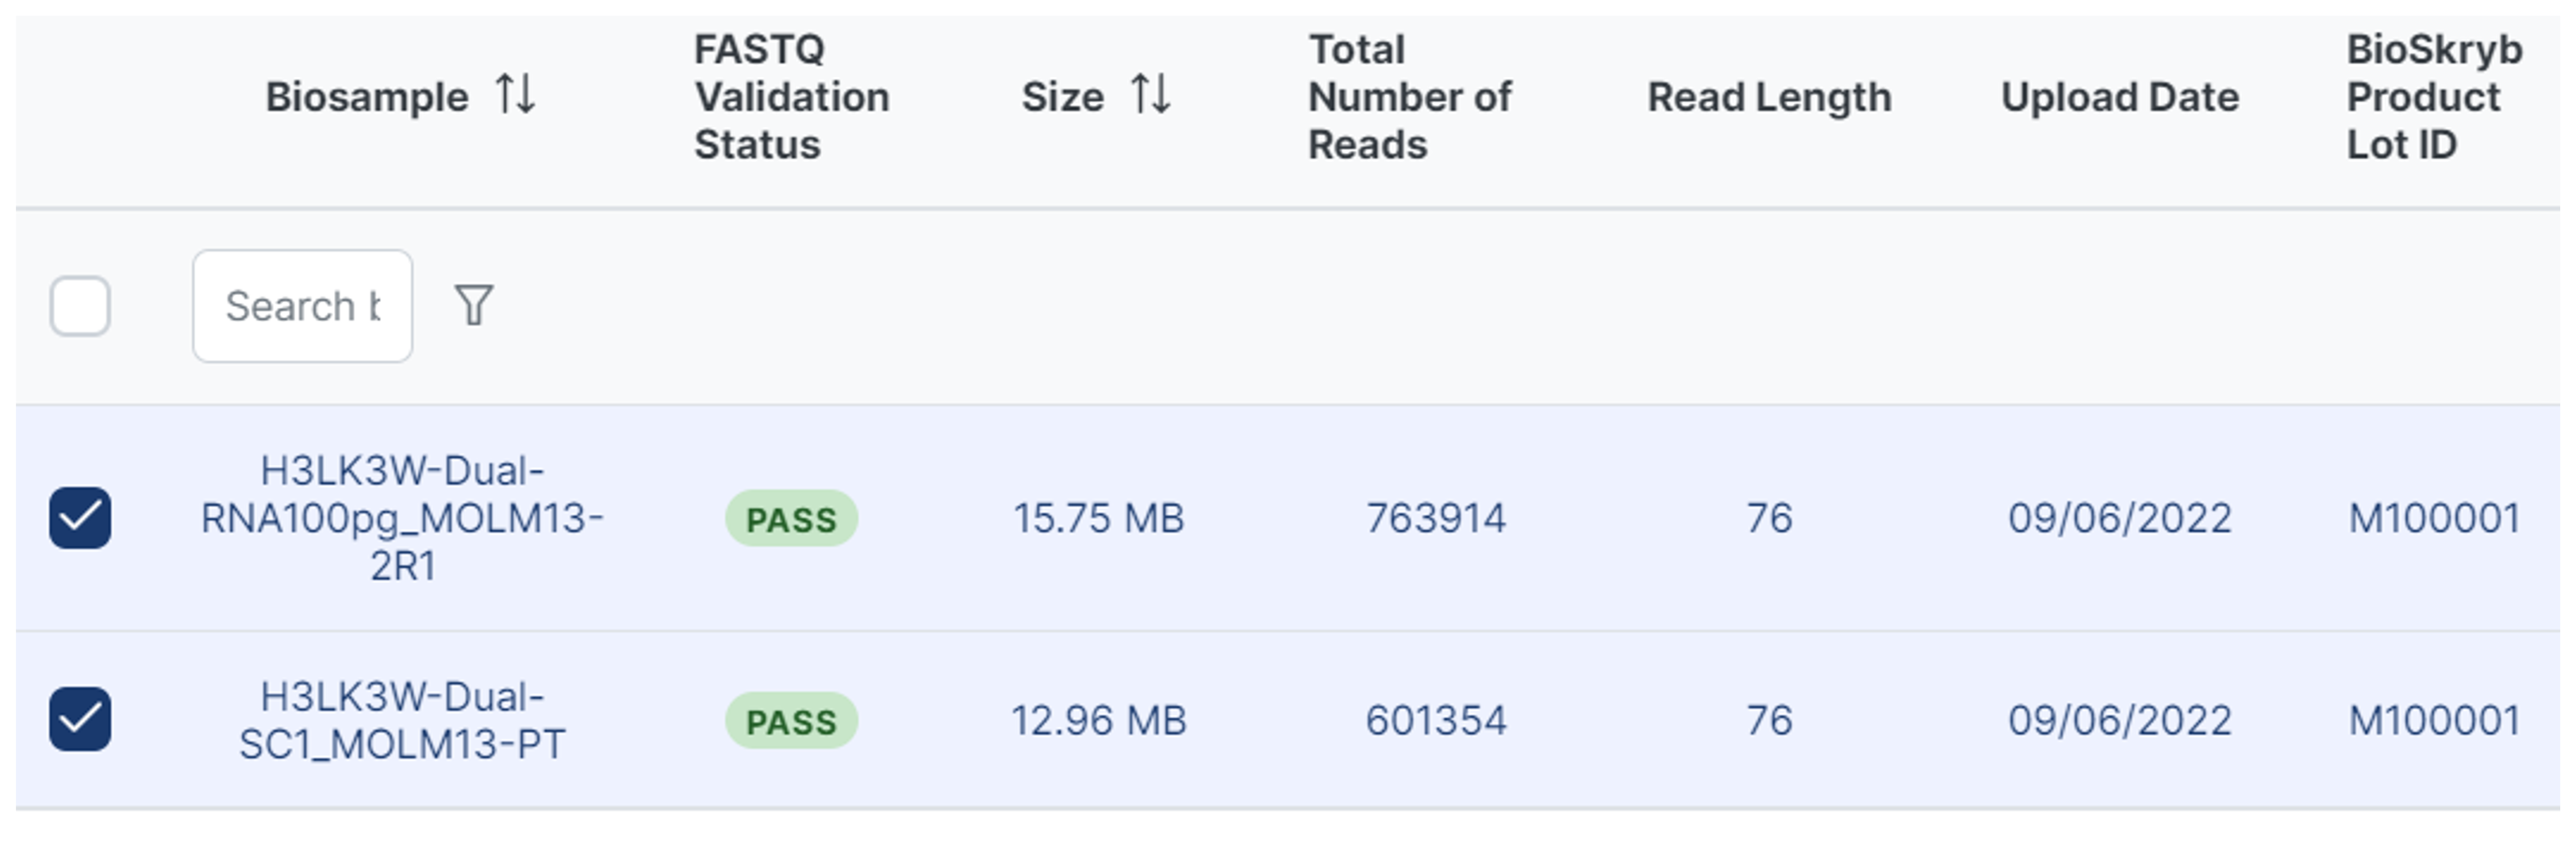
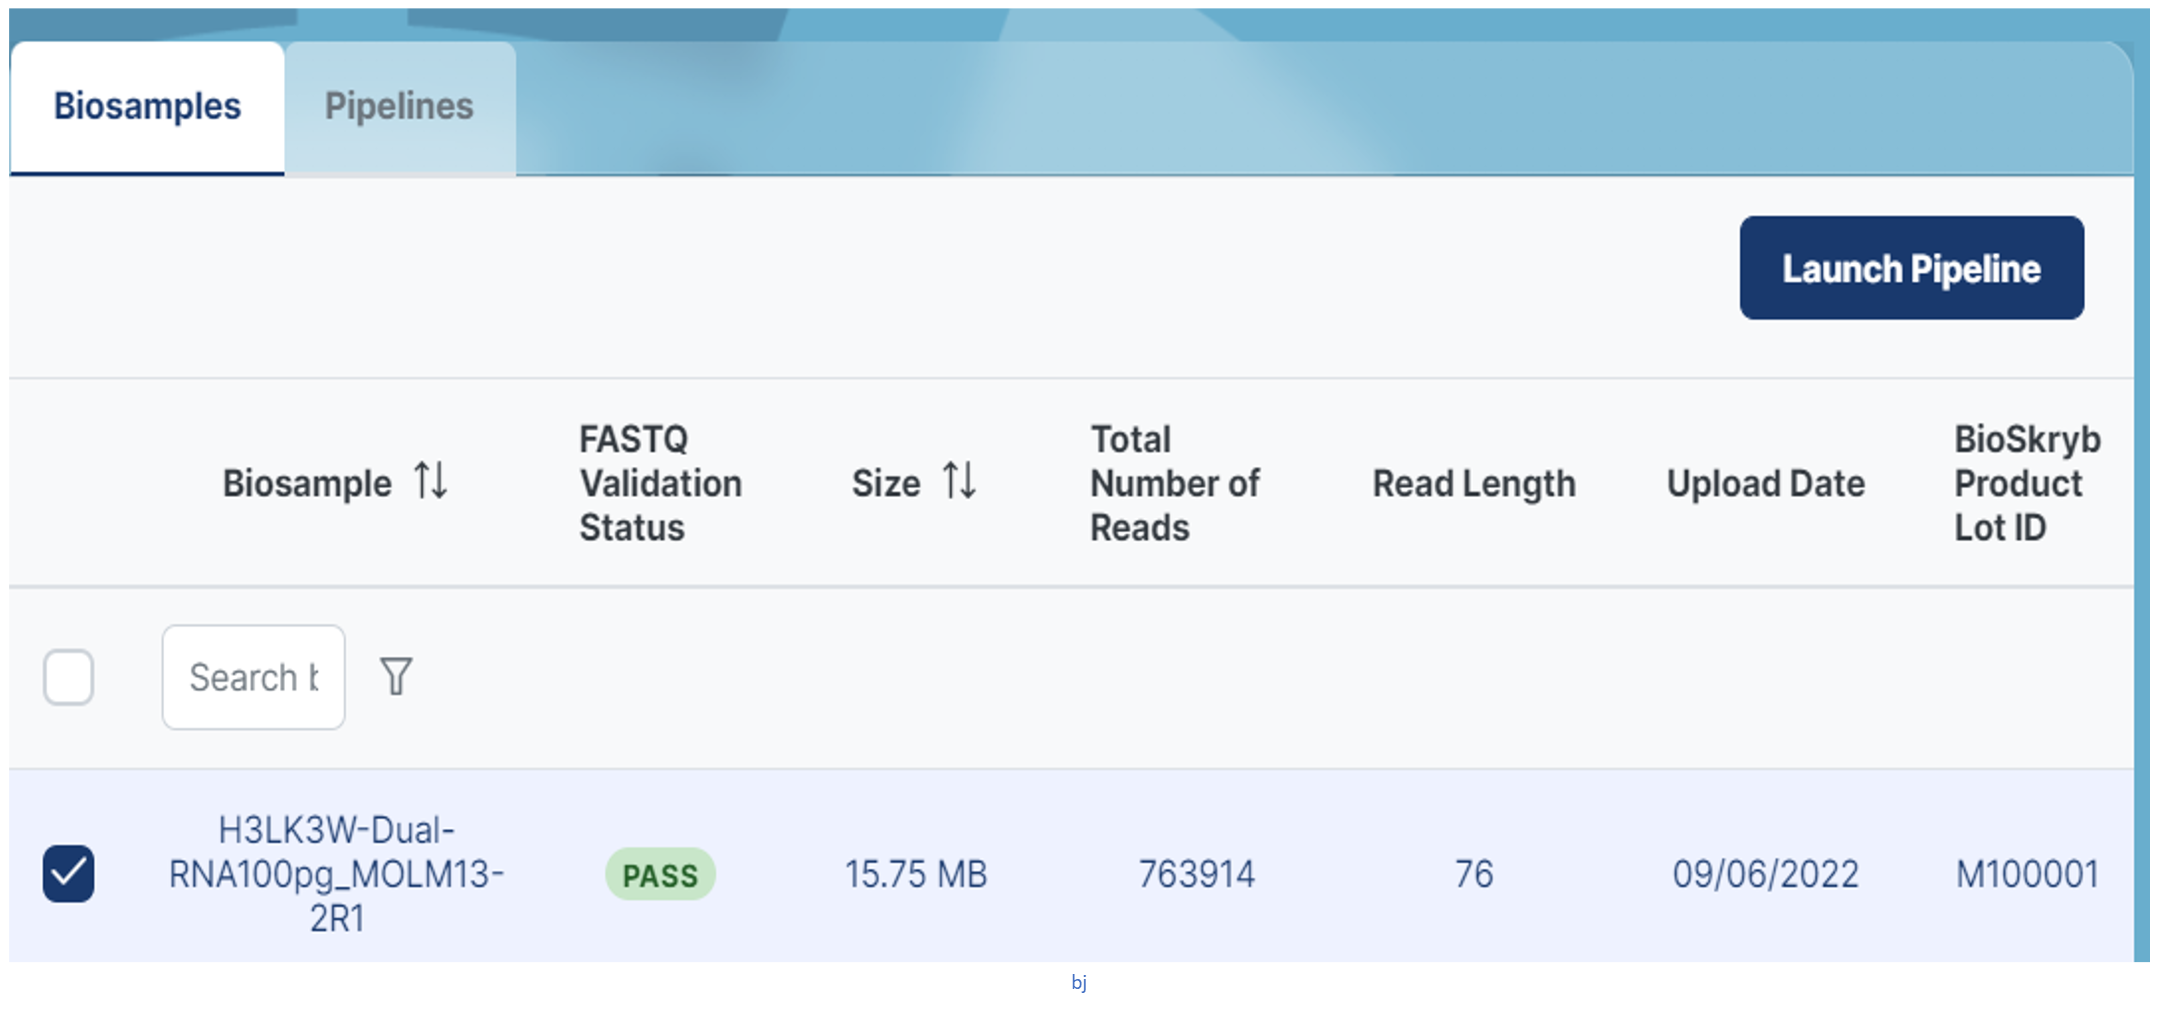
- After you've selected your biosamples, click the Launch Pipeline button and repeat the following steps 3-5 from Approach 1.
Approach 3#
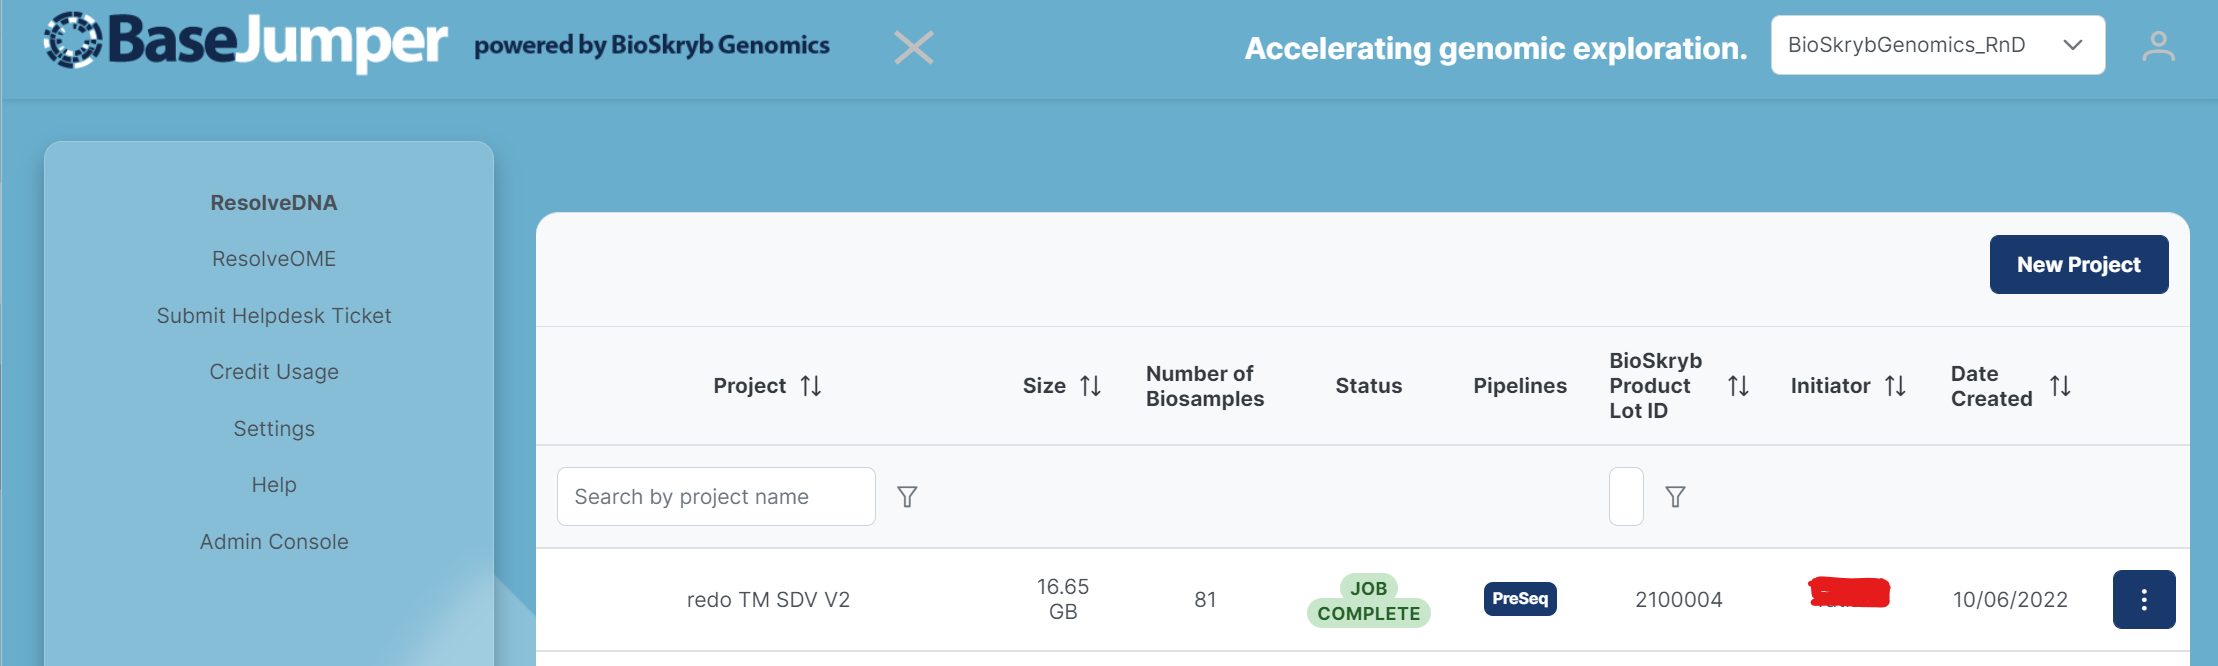
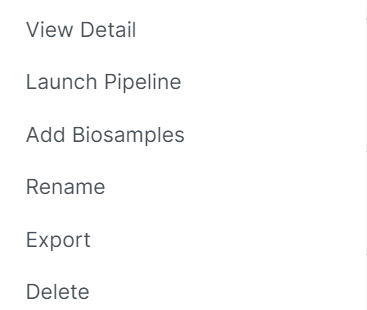
Once your project is complete a 3rd option you can use to launch a pipeline is clicking the the 3 dots located on the far right in the table and select Launch pipeline. The Launch pipeline table will appear with the different pipeline options and their versions. You can then proceed with the following steps 3-5 from Approach 1.
Launching Tertiary Pipelines#
BaseJumper has set up a sequential workflow of steps to follow and the prerequisites needed to perform the tertiary analyses pipelines. The designed workflow goes through everything you need to launch your tertiary analysis pipeline successfully.
-
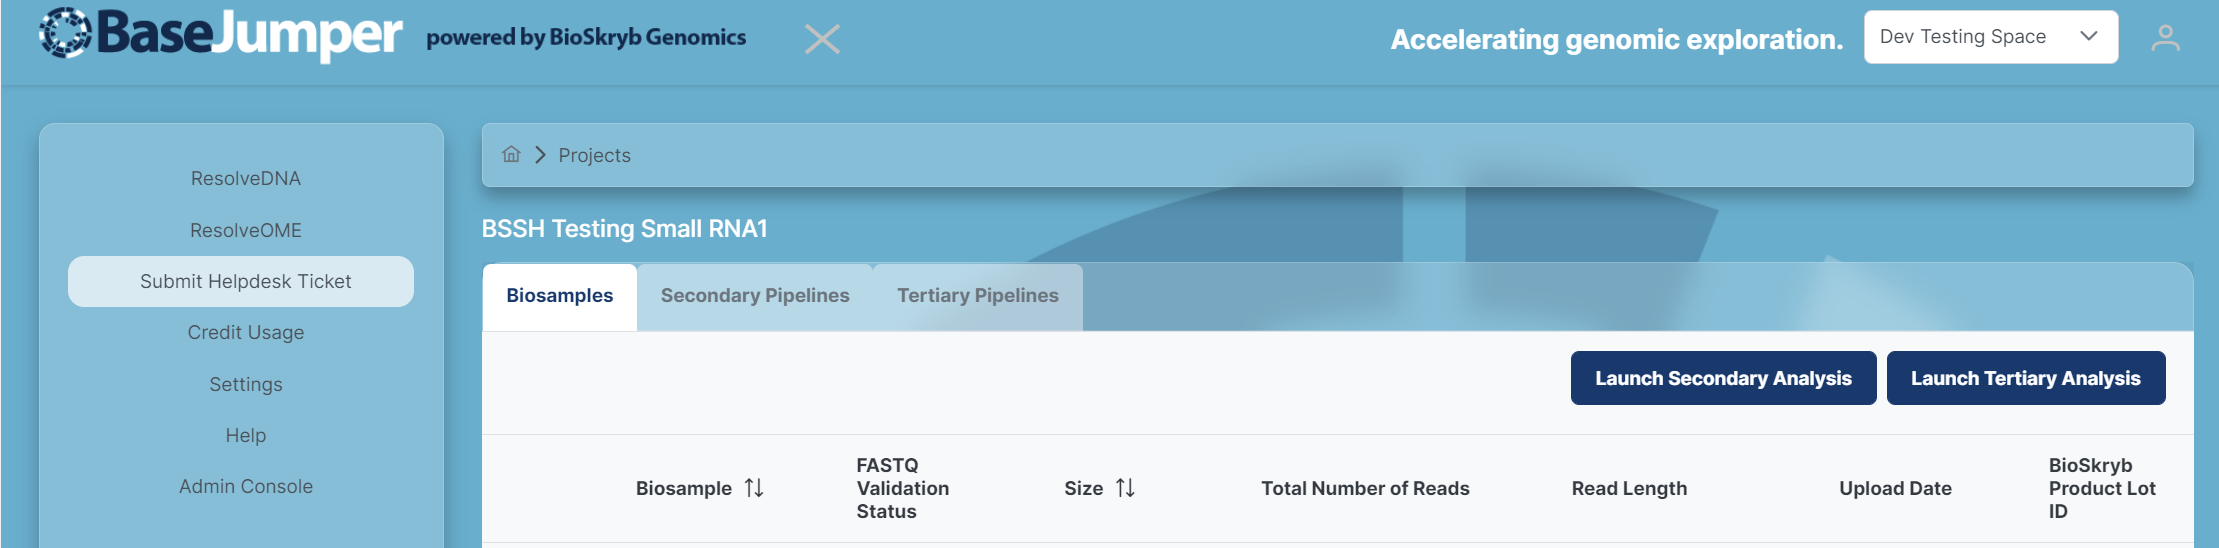
Click on your project and you should see 3 tabs appear. Biosamples, Secondary Pipeline and Tertiary Pipeline. By default you will be taken to the Biosamples tab.
-
Click on Launch Tertiary Analysis
Note
Triggering the tertiary analyses pipelines can only be started after the secondary analyses pipeline has completed.
-
If you click on Launch Tertiary Analysis and you see in this section, No pipelines found, it means that you never launched your secondary analysis pipeline or that it is not complete and will need to be done before running your tertiary analysis pipeline.

-
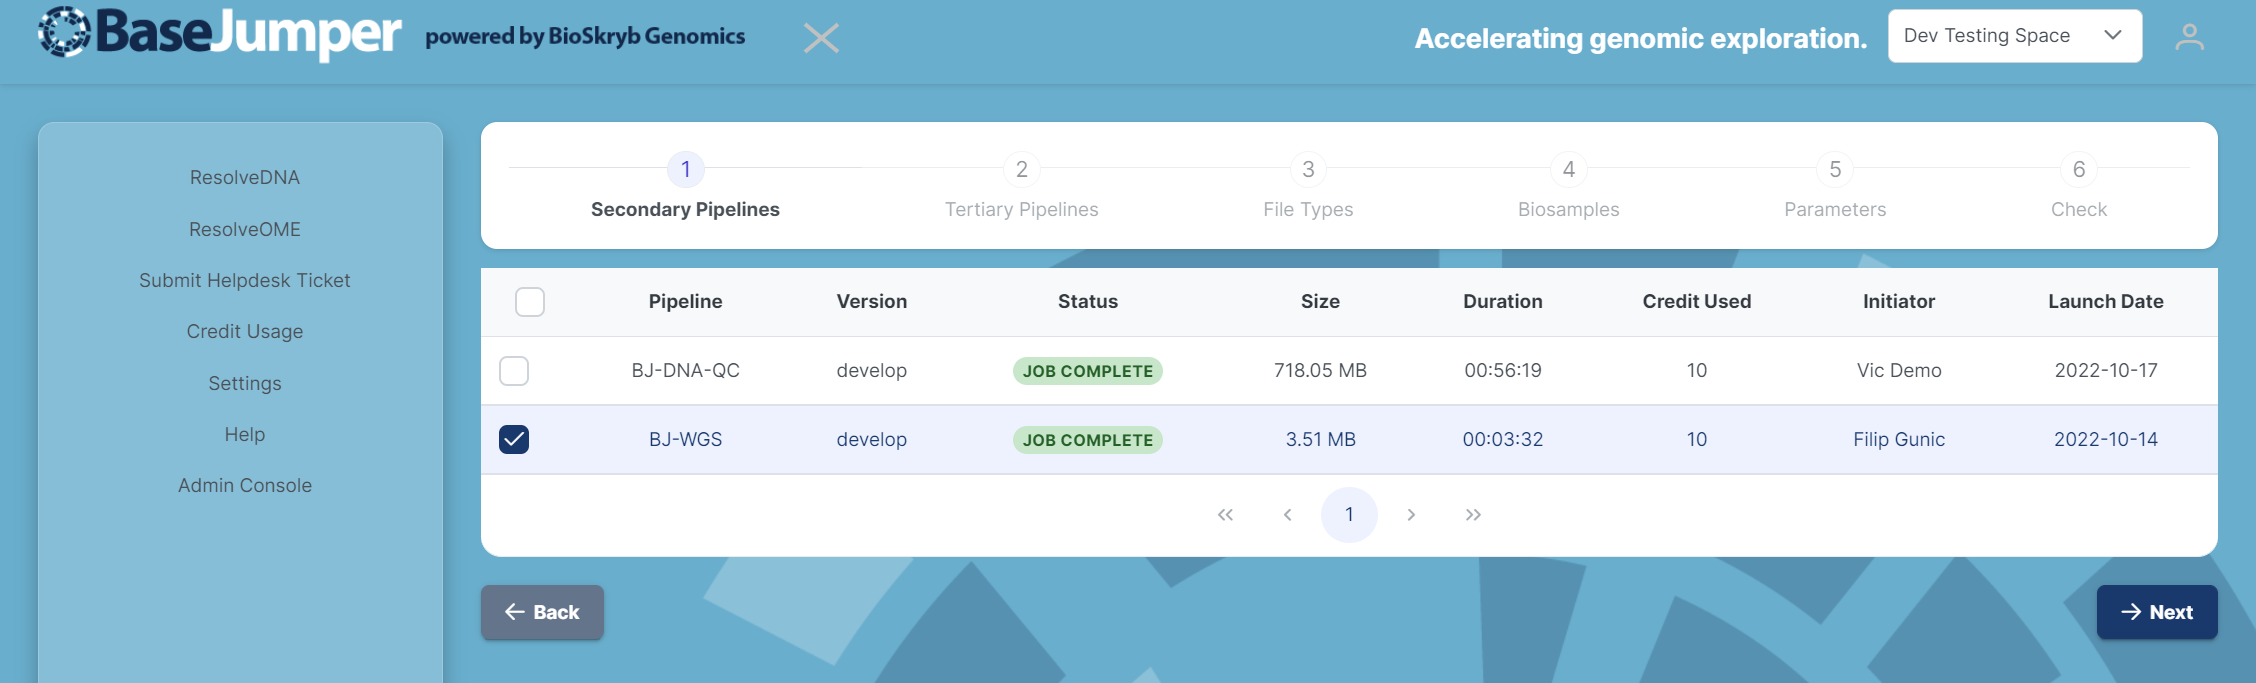
You will know that your secondary pipeline is complete if your previously secondary pipeline run appears. You can then select the pipeline that you would like to run the tertiary analysis on and click next button.
-
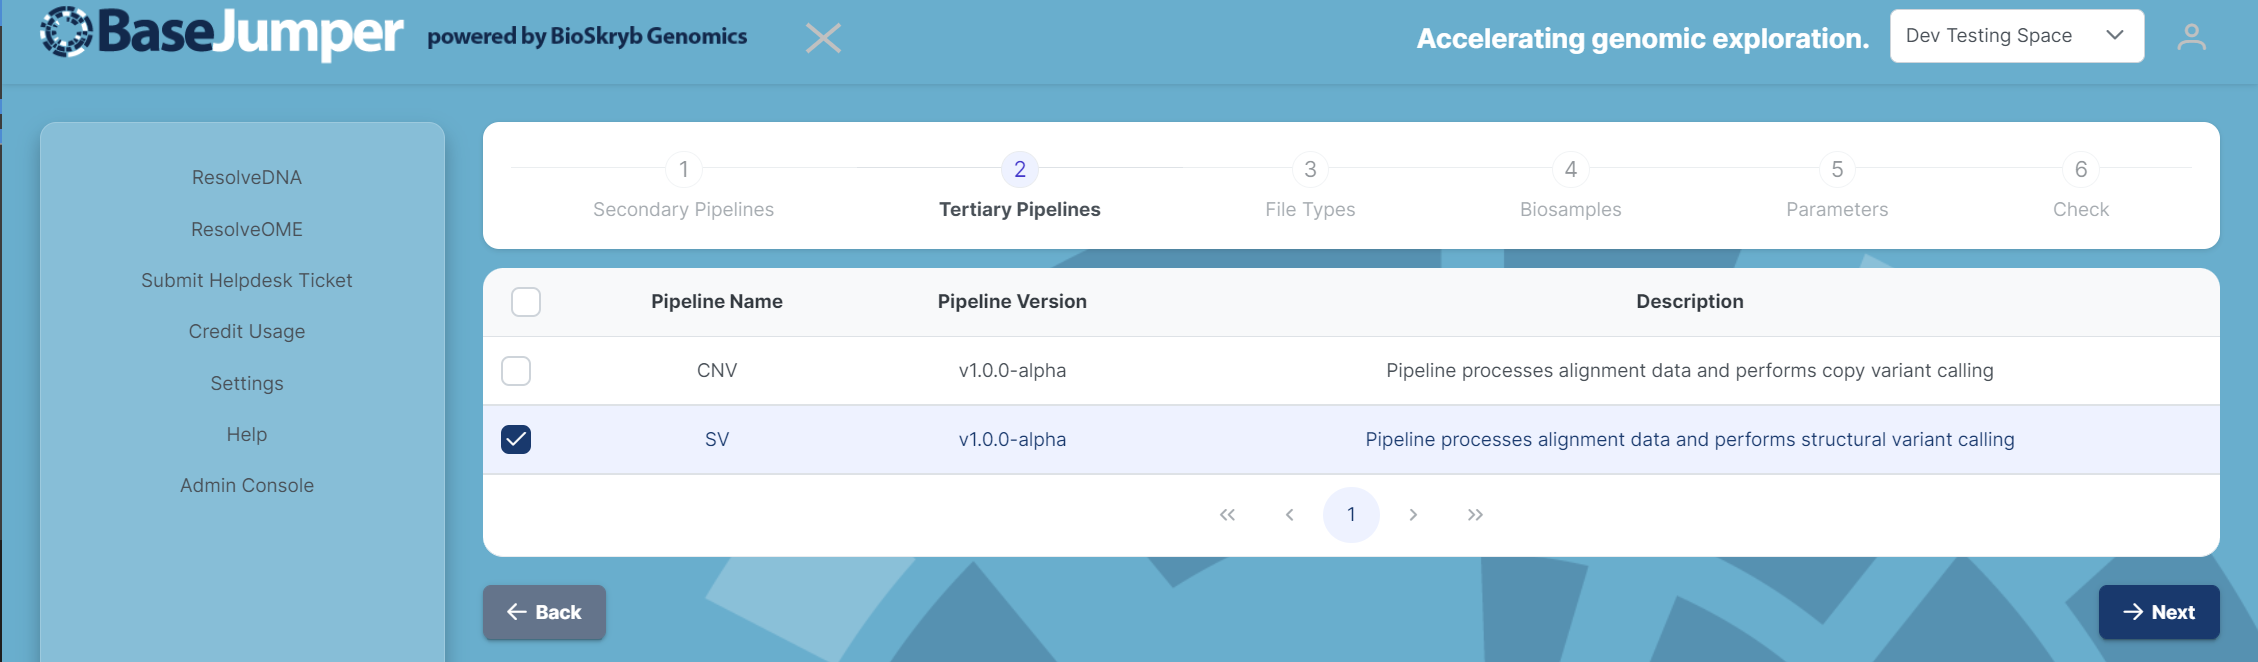
You will then be taken to the tertiary pipeline step and you will have the option to chose which tertiary analysis you would like to run.
-
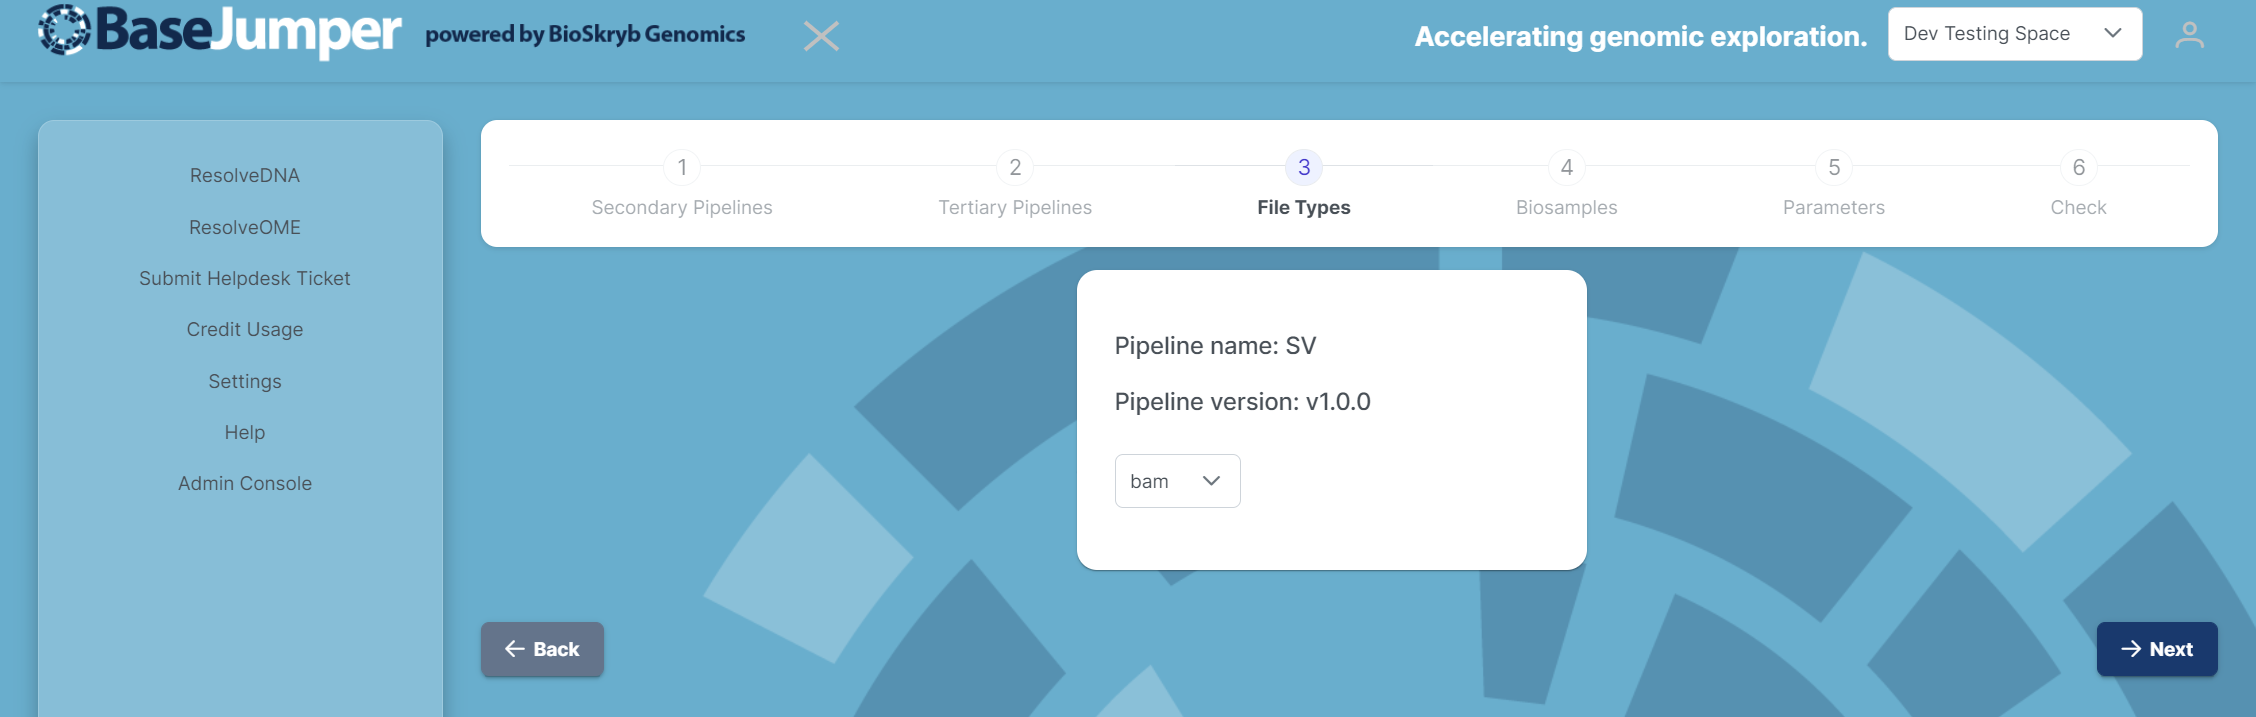
After you select your tertiary pipeline, you can select a File Type and then hit the next button.
-
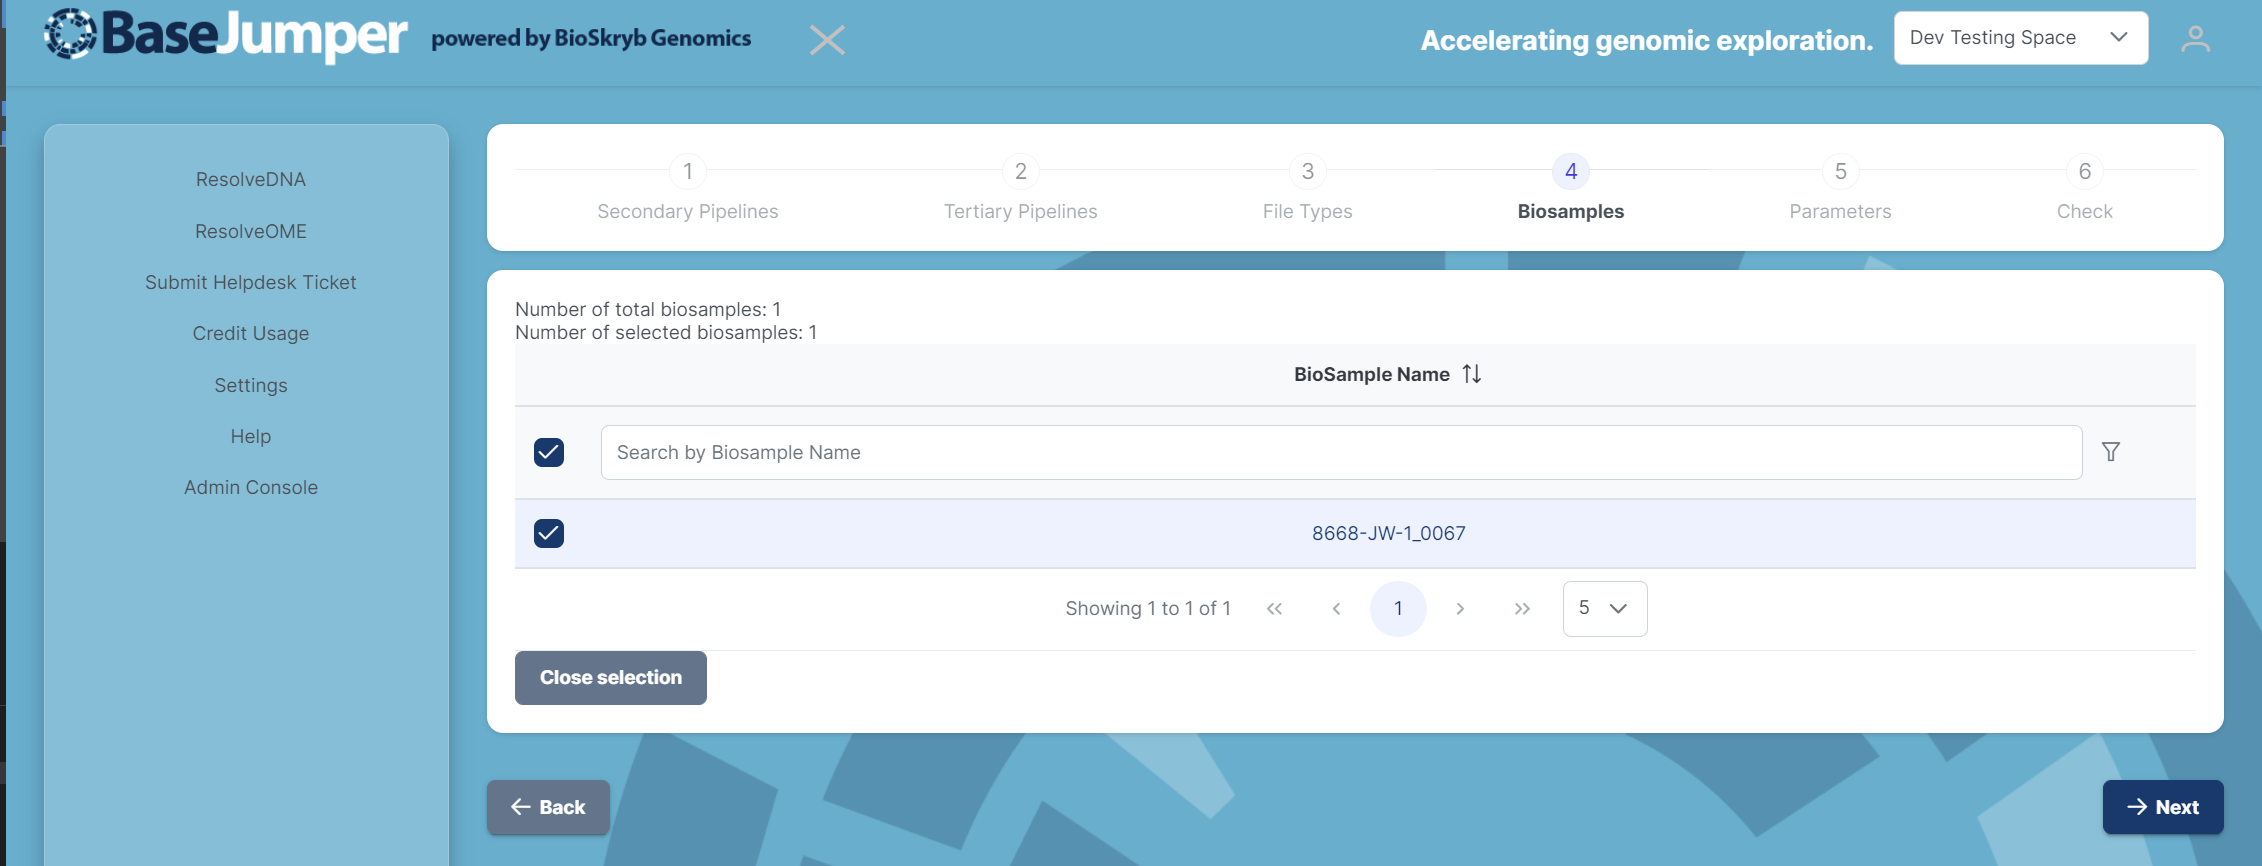
Next select the Biosamples that you would like to perform your tertiary pipeline on and click next.
-
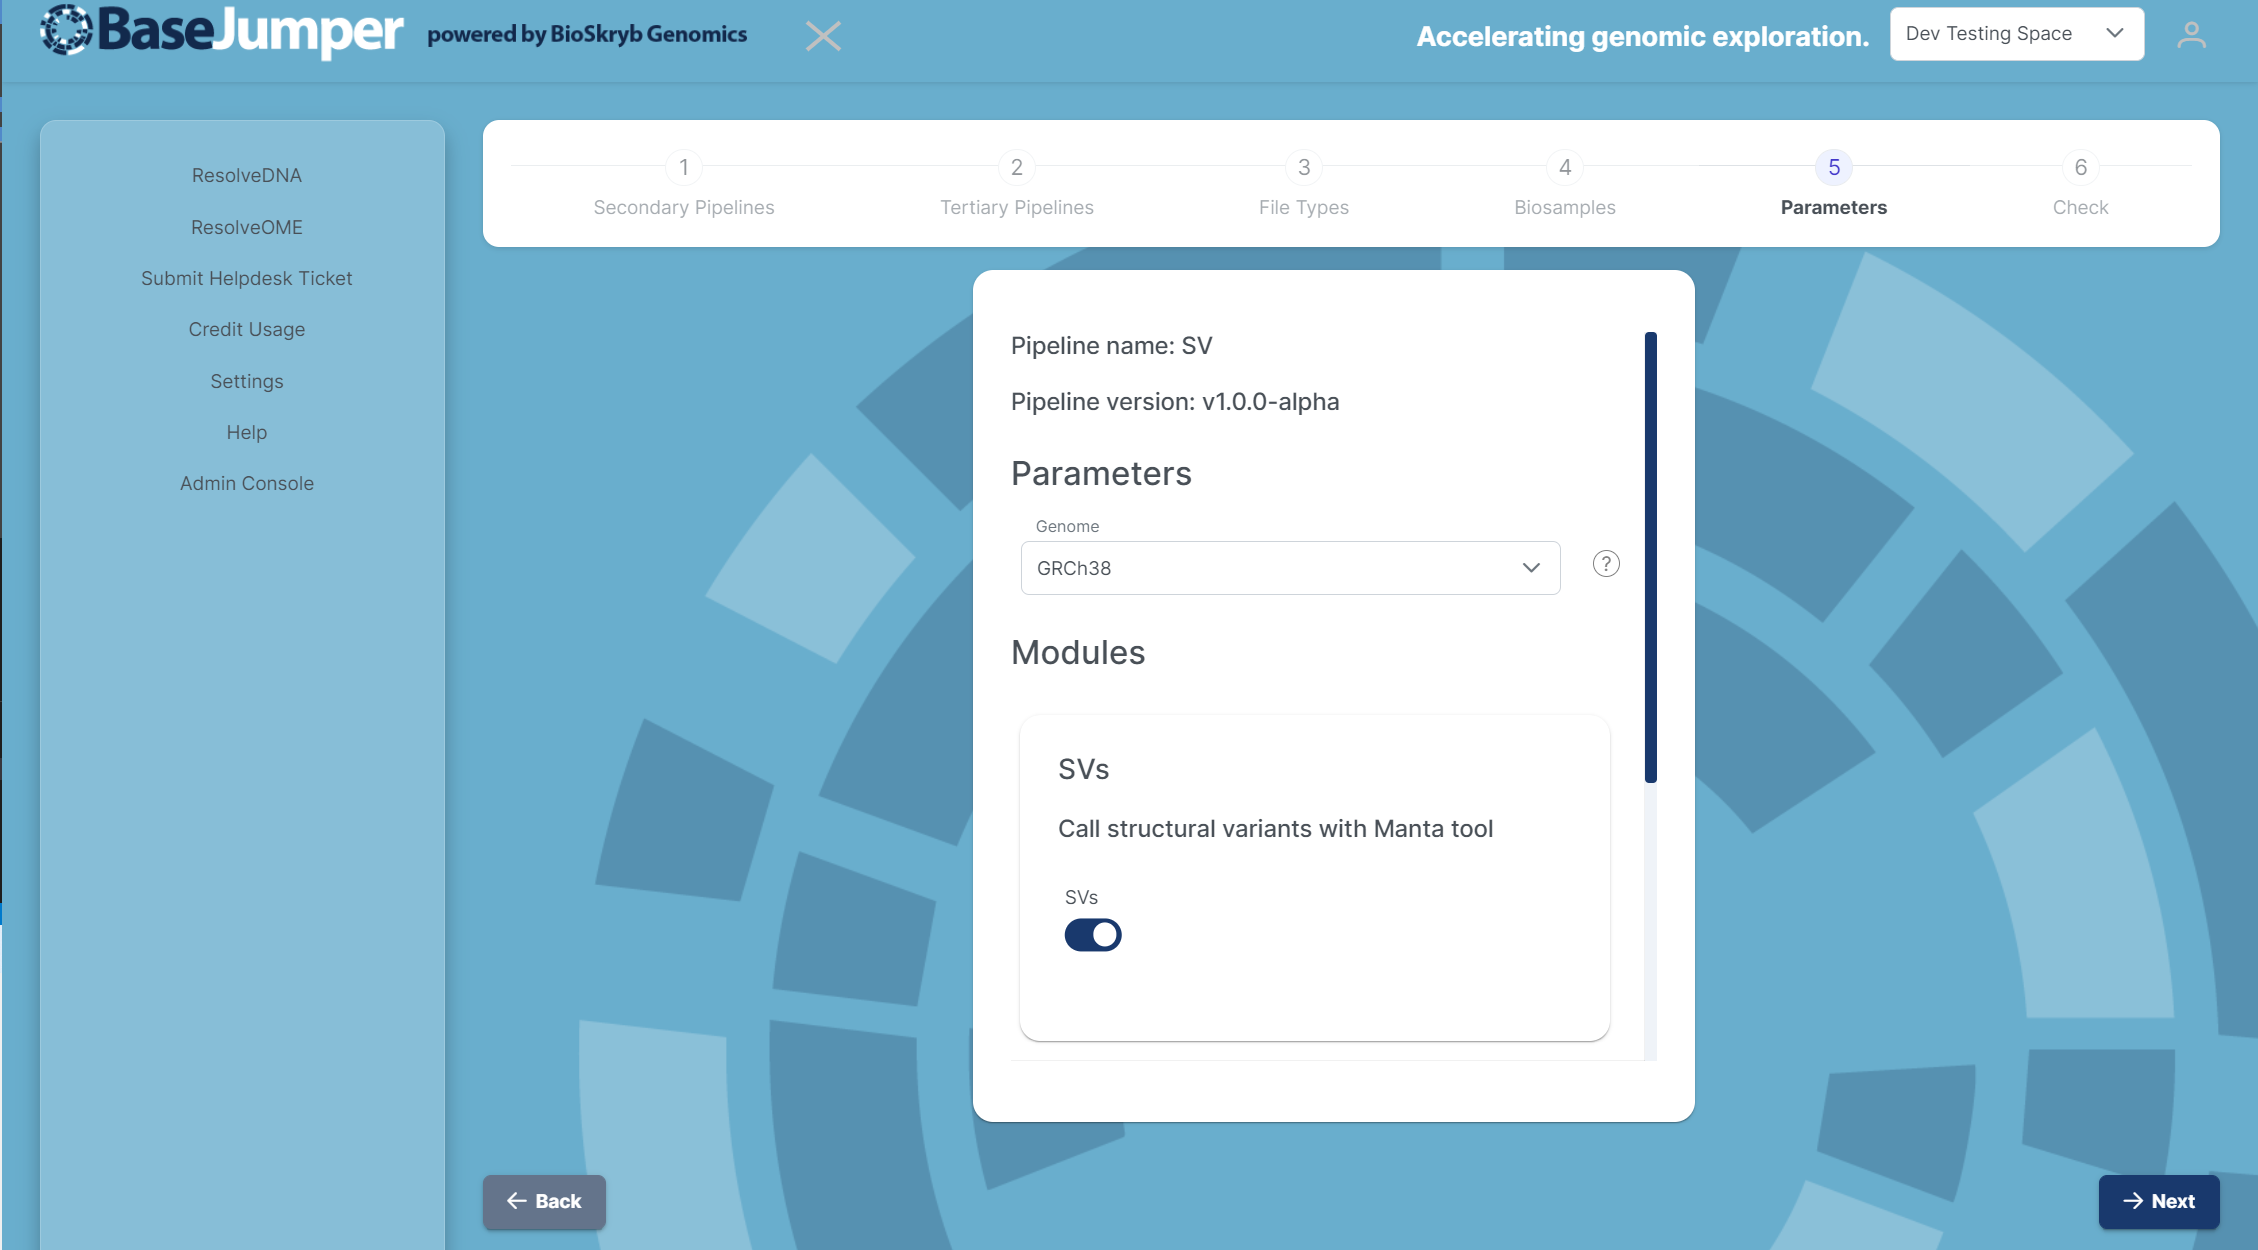
Select the parameters that you would like to choose for your pipeline and hit next. Some of these parameters may be required or default.
-
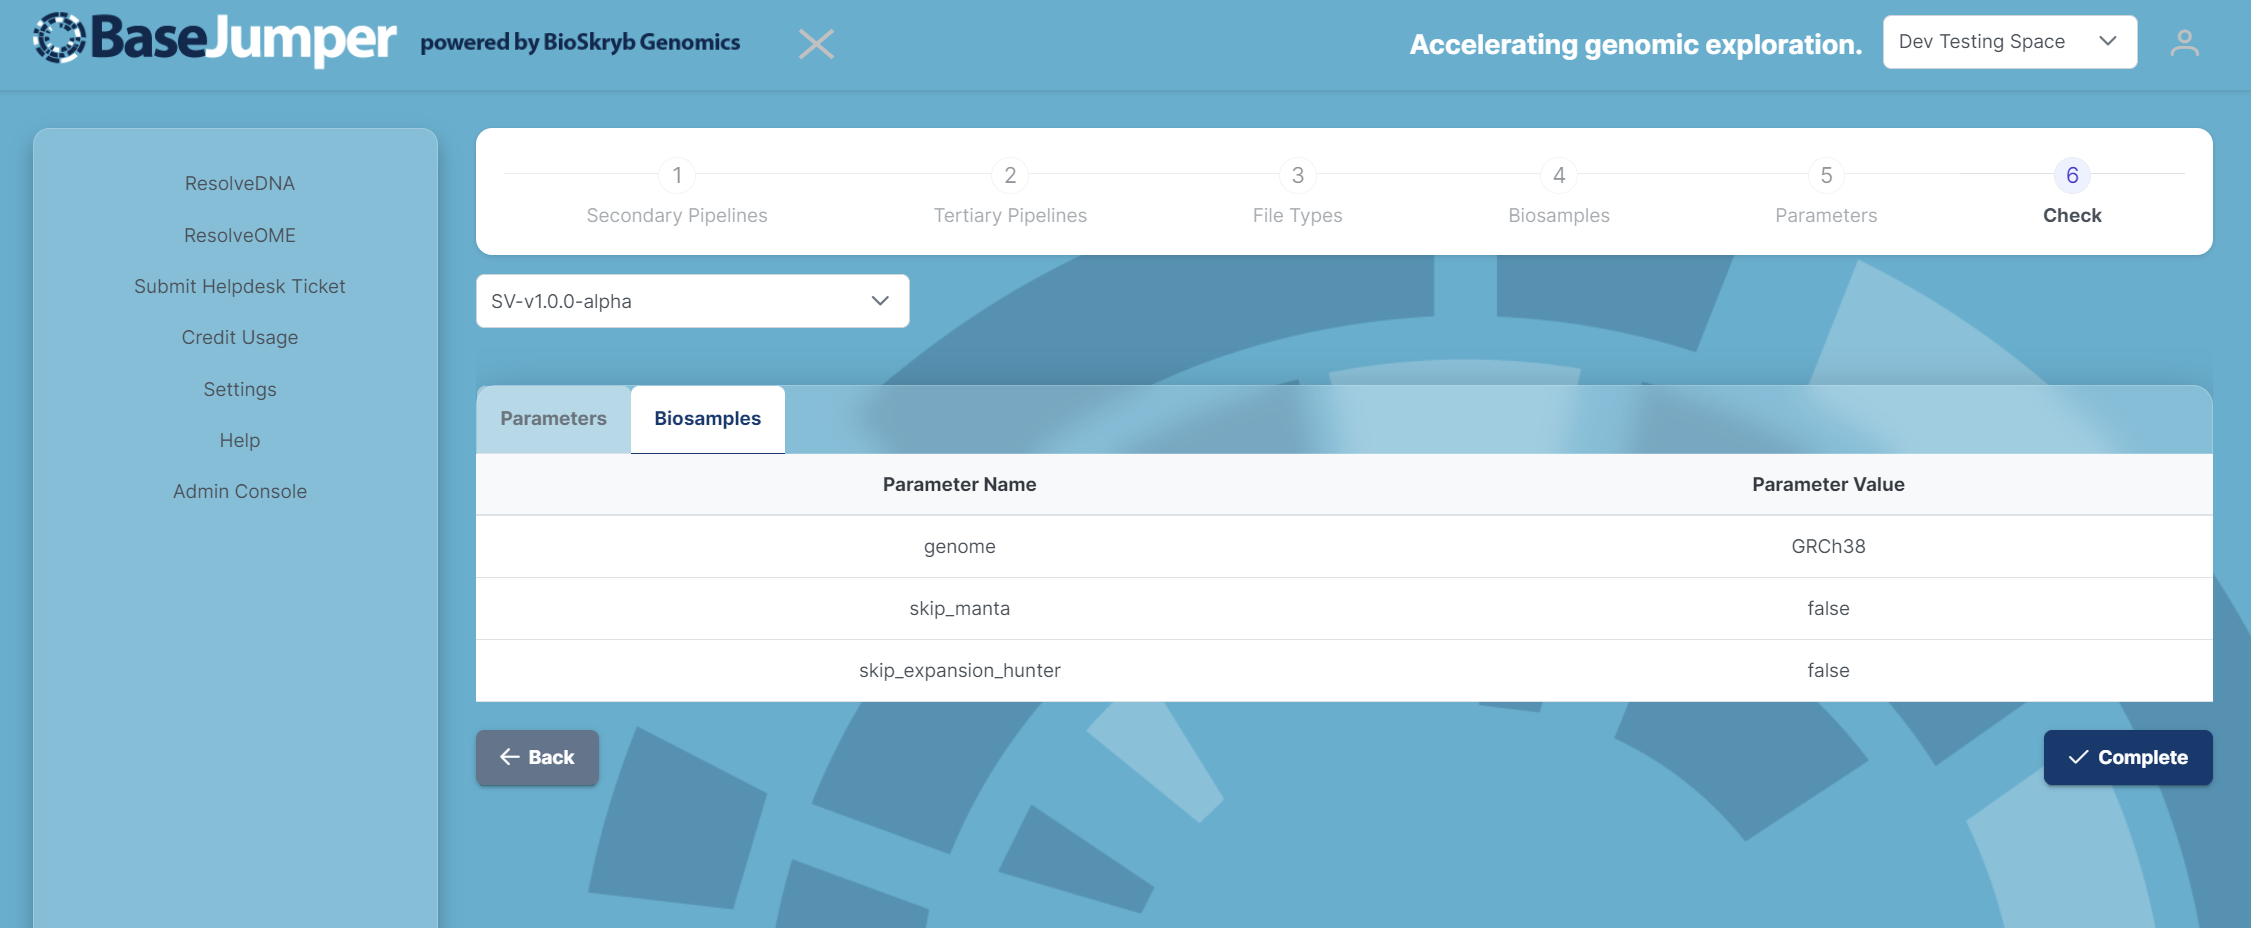
There will next be a final check step to review and make sure your pipeline selection, biosamples and parameters are correct.
-
When you are comfortable with your final selections, hit the complete button and your tertiary pipeline will be launch.